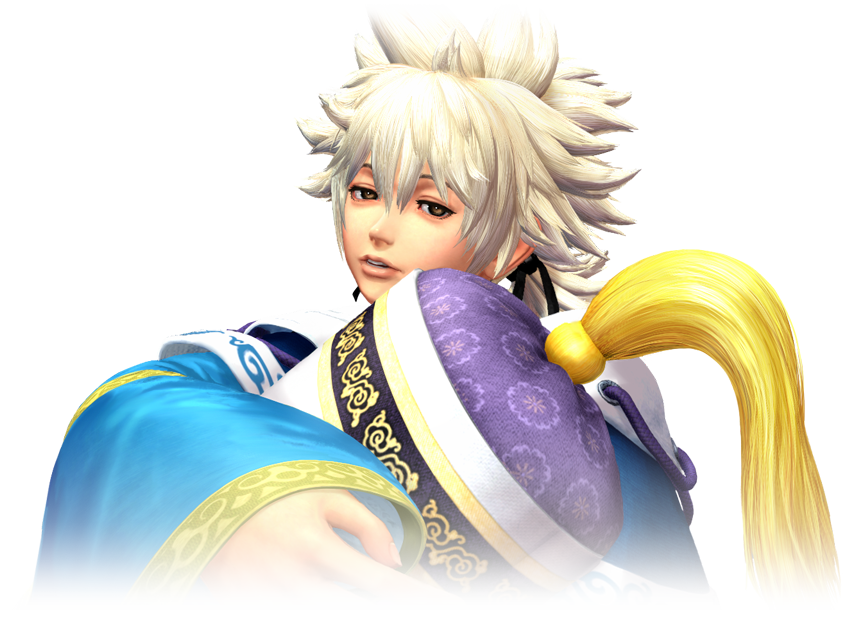
Difference between revisions of "The King of Fighters XIV/Meitenkun"
(→Throws) |
|||
| Line 124: | Line 124: | ||
=Throws= | =Throws= | ||
'''Feint Makura''' - (b/f+C) close | |||
* Meitenkun toss the opponent his pillow, then drop kicks them. The opponent lands at the corner of the screen. | |||
* Can be broken | |||
* Soft knockdown | |||
'''Makura Bomb''' - (b/f+D) close | |||
* Meitenkun grabs the opponent's head, then flips over them, knocking them down. | |||
* Can be broken | |||
* Hard knockdown | |||
=Command Moves= | =Command Moves= | ||
Revision as of 17:53, 7 October 2016
Movelist
(*) = EX OK
(!) = MAX OK
Throws
Command Normals
Special Moves
Sen-Siss Hou - charge briefly ![]() then
then ![]() +
+ ![]() /
/ ![]() (*)
(*)
Geki Hou - charge briefly ![]() then
then ![]() +
+ ![]() /
/ ![]() (*)
(*)
Ressen Kyaku - in air, ![]() +
+ ![]() /
/ ![]() (*)
(*)
Super Special Moves
Climax Super Special Moves
Quick Combo Reference
| 0 Meter |
Anywhere |
(Combo 1) = (damage number here) dmg |
| 1 Meter |
Corner |
(Combo 1) = (damage number here) dmg |
| 2 Meters | Anywhere | (Combo 1) = (damage number here) dmg |
Gameplay Overview
Normals
- st. A: Meitenkun throws out a soft looking swipe. Can be used to stop incoming hops at a close range.
- st. B: This very quick sliding toe kick hits low & can't chain or cancel into anything. It also moves Meitenkun forward a bit.
- st. C: A very strong & fast pillow swing. Covers a great horizontal distance, & is special cancel-able.
- st. D: This side kick has very brief lower body invincible during the start, moves Meitenken forward, & can be used as an preemptive anti-air.
Close
- cl. A: A special cancel-able elbow that can be chain into cr. A, cr. B & st. B.
- cl. B: This kick aimed at the opponent's mid-section is special cancel-able.
- cl. C: Meitenkun hugs his pillow while delivering a fierce headbutt that is special cancel-able.
- cl. D: This heavy kick deals more damage than cl. C & can be used to stop opponents from jumping over you.
Crouching
- cr. A: This decently ranged crouching light punch can be chained easily into itself, cr. B, st. B, and cl. B.
- cr. B: This crouching kick doesn't slide against the ground like most crouching light kicks but has decent range & speed. Can be easily chained into cr. A, cl. B, and is special cancel-able. Hits low.
- cr. C: Meitenkun sweeps the opponent with his pillow. Great range, decent speed & is special cancel-able. Hits low.
- cr. D: This crouching heavy kick can be used as an anti-air at a close to mid-range.
Jumping
- j. A: This jumping punch has a downward angle that can used as a jump-in attack, and is special cancel-able.
- j. B: A horizontal kick that can be used in air-to-air situations. Can be low profiled by very low sweeps and crouching light kicks if timed improperly. Special cancel-able.
- j. C: Can be used either in air-to-air situations or air-to-ground if performed low to the ground.
- j. D: This jumping heavy kick is almost similar to jumping C in range and applicable use.
Blowback
- st. CD: Meitenkun flips his pillow quickly, catches it, then horizontally thrusts it at the opponent. Great range, speed & is whiff cancel-able.
- j. CD: Meitenkun curls up into a ball while in the air. Best used as an air-to-air attack.
Throws
Feint Makura - (b/f+C) close
- Meitenkun toss the opponent his pillow, then drop kicks them. The opponent lands at the corner of the screen.
- Can be broken
- Soft knockdown
Makura Bomb - (b/f+D) close
- Meitenkun grabs the opponent's head, then flips over them, knocking them down.
- Can be broken
- Hard knockdown
Command Moves
Special Moves
Notation Key (*) = EX OK
(!) = MAX OK
Super Special Moves
Climax Super Special Moves
Combos
0 meter
- (place combo here) = (place damage amount here)
(place combo description here)
1 meter
- (place combo here) = (place damage amount here)
(place combo description here)
2 meters
- (place combo here) = (place damage amount here)
(place combo description here)
3 meters
- (place combo here) = (place damage amount here)
(place combo description here)
4 meters
- (place combo here) = (place damage amount here)
(place combo description here)
5 meters
- (place combo here) = (place damage amount here)
(place combo description here)
Misc
Videos
External Links
Discussion Threads
Discuss at Dream Cancel
