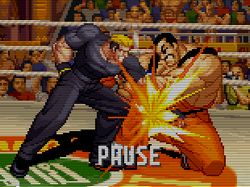
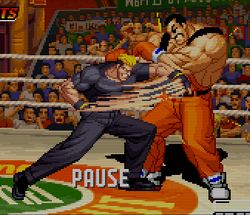
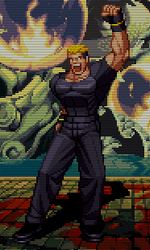
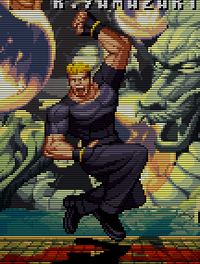
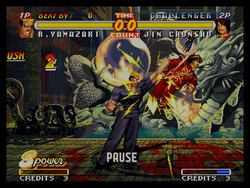
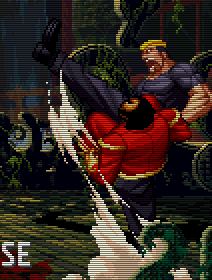
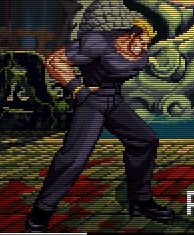
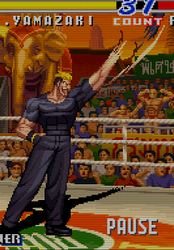
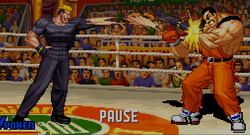
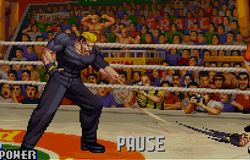
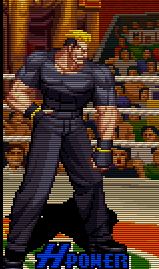
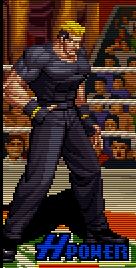
Real Bout Fatal Fury 2/Ryuji Yamazaki
Gameplay Overview
Gameplay Notes
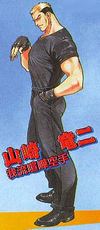
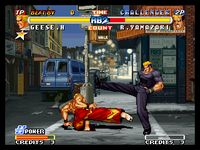
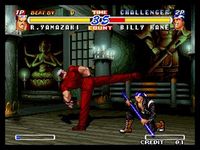
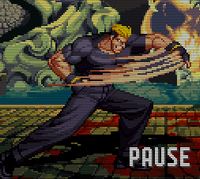
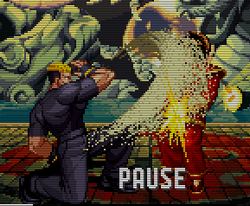
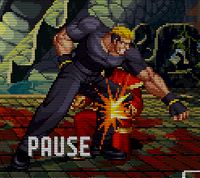
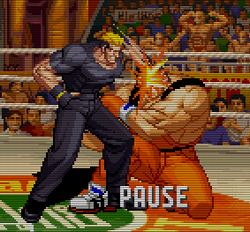
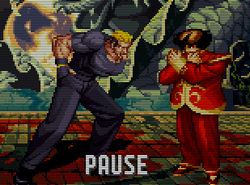
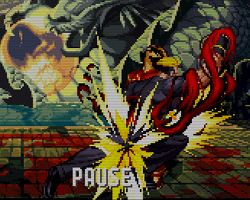
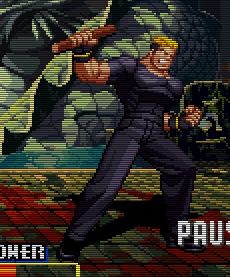
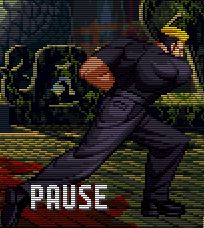
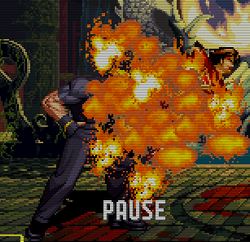
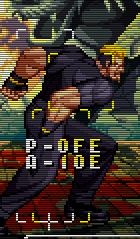
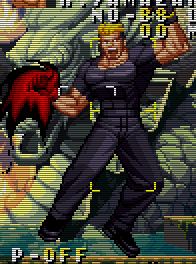
Yamazaki is, like in KoF, a difficult character for new players to learn. However, this doesn't mean he's a bad character. Yamazaki has all the tools and skills to keep up against the likes of Mary, Franco, etc. He has the fastest overheard in the game, his pursuit is almost as damaging as Geese's, and all around he's just a nasty character to face off against when someone knows how to play as him. He has anti-melee and anti-projectile moves counter-attack the opponent, a lot of his moves have great priority and/or decent invincibility frames, and some good breakshots.
Where Yamazaki starts to actually show some weakness is up close melee. He tends to fall pretty quickly under pressure and has a difficult time keeping up if he's not able to escape close-range combat. Yamazaki requires some zoning skills and practice, but if you can manage to keep the opponent out you'll see just how good he can be.
Pros
-Fast moves
-Great priority
-Good anti-air and anti-projectile moves
-Second most damaging pursuit in the game
-Fastest overhead in the game
Cons
-Rather lack-luster P-Power
-Has somewhat of a learning curve for newer players
-Some of his specials aren't very good outside of combos
Normals
Standing
st.Far B
-Good to use at close range
-Careful using it on Franco, Billy, and Lawerence as their crouching C can punish this?
st.Far C
-Good as a medium-range poke
-Krauser and Franco can punish this even at mid-range?
Jumping
j.C
-Very good reach
-His best jump-in normal to use
Throw
Grab and Toss=(f/b + C) - Yamazaki picks you up and throws you to the other side.
-Hit Detection: Close
-Can't pursuit afterwards
Avoid Attack
Swipe Away=(A + B)
-Avoids non-projectiles and counter-attacks
-Has priority
-Has a few frames of invincibility
-Can be followed up with Hebi Tsukai (Chuudan), Hebi Tsukai (Gedan), or Sabaki no Aikuchi
-Can be feint canceled to get in a couple more hits
Command Normals
Metsubushi=(C) - When Yamazaki gets up he will throw sand at his opponent, knocking them down.
-Hit Detection: Close, on wake-up
-Wake-up move
-Comes out fast enough to be a good reversal
-Cancels out normal fireballs
-Easy to punish on block/whiff
Bussashi=(f + A) - Yamazaki executes a downward punch.
-Very fast
-One of the best overheads in the game
-Can be canceled into his f + C
-Has a little lag when used by itself, so be careful on block/whiff
-Useful for dealing with turtles
(f + C)
-Is the follow-up to Bussashi
-If on a 1 line stage, can be followed up with Yakiire or a super if not too far away
-If a 2 line stage, can be canceled into D
-Very effective against Franco, Lawerence, and Krauser
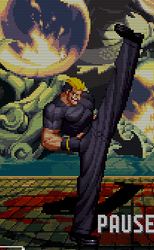
Shouten=(df + A) - Yamazaki does a standing uppercut into the air
-Comes out quick
-Good as an anti-air
Kachi-Age=(ub/u/uf + B + C) - Yamazaki executes an uppercut while in the air.
-Good priority
-Can juggle with Hebi Tsukai (Joudan)
-Can juggle with Yakiire depending upon the height of the opponent
Todome=(d, d + C) - Yamazaki gives a downed opponent two kicks and then kicks them away from him.
-One of the most damaging pursuits in the game, only rivaled by Geese's
-Great for finishing up combos with
-First stomp must connect for the entire attack to come out
Feint Cancels
Feint Sabaki no Aikuchi=(f + A + C) - Yamazaki goes to do the first few frames of Sabaki no Aikuchi, and then stops.
Special Moves
Hebi Tsukai(Joudan)=(qcb + A) - Yamazaki will loosen up his arm and suddenly give an extended jab angled upwards.
-Breakshot
-Can be delayed by holding
-Extremely fast
Hebi Tsukai(Chuudan)=(qcb + B) - Yamazaki will give a straight extended jab towards the opponent.
-Breakshot
-Can be delayed by holding
-Covers almost the entire screen so it has good range
-Extremely fast
Hebi Tsukai(Gedan)=(qcb + C) - Yamazaki will throw an extended jab towards the opponent's shins.
-Breakshot
-Can be delayed by holding
-Extremely fast
-Must be blocked low
Hebi Damashi=(D) - Yamazaki appears to begin doing Hebi Tsukai, but then cancels it.
-Hit Detection: Any range, during any Hebi Tsukai
Dai Hebi=(A/B/C) - Yamazaki will hit the opponent with all three versions of Hebi Tsukai if you hold down one of the buttons long enough during Hebi Tsukai.
-Hit Detection: Any range, hold during Hebi Tsukai
-Damage lowered from RBS
-First part must be blocked low
Sadomazo=(hcf + B) - Yamazaki kneels over and sticks his tongue out taunting the opponent. If hit, he will counter with his own attack.
-Counters everything unless its a low hit or a fireball
-Can counter S-Powers
-Good for a jump in, but has potential to whiff
Yakiire=(dp + B) - Yamazaki executes an axe kick to stomp on his opponent flat.
-Not useful outside of a combo
-Only combos this is effective in would be something juggling from the background or after a launcher
-Almost guaranteed to get hit doing this outside of a combo
-If it does hit, you can always add the pursuit right after making the damage worthwhile
-Overheard
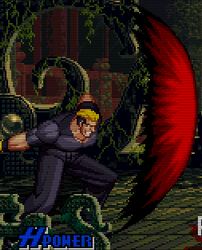
Bai Gaeshi=(qcf + C) - Yamazaki stops projectile attacks, and counters them with his own red energy wave.
-Hit Detection: Any range, hold C
-Comes out fast
-Slowed down from RBS
-Can no longer go through projectiles like RBS
-Cannot be used against S-Powers that are projectiles
-Will not return Sokaku's Makibishi Masher
Bai Gaeshi(Juuden)=(qcf + C) - Yamazaki just absorbs the projectile in this move but it increases his power gauge by 1/3.
-Will not absorb Mai's fans
Sabaki no Aikuchi=(dp + A) - Yamazaki hits them with his knife sheathed, then slashes them with the knife.
-Good as a combo finisher
-Great damage
-Can dash afterwards and do his pursuit (d + C)
-Can dash forward and if they do a line switch, use standing C
Bakudan Pachiki=(f, b, d, u + C) - Yamazaki will grab his opponent then executes an exploding headbutt.
-Unblockable
S-Power
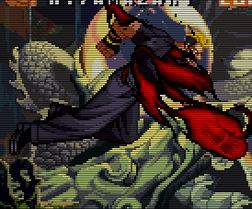
Guillotine=(f, hcf + B + C) - When the opponent is within range Yamazaki will execute a powerful uppercut and then he will jump towards the airborne opponent and slam down his energized hand on their face. As they land Yamazaki will drag them along the ground almost across the whole fighting plane. Then, Yamazaki will throw his opponent high into the air
-Good anti-air if times correctly
-Best used after a launcher or when hitting someone into 1 plane backgrounds
-Can be comboed after a close A, B, C, or df + A
-Recommended to always follow up with his pursuit
-Second hit that goes down is an overhead
P-Power
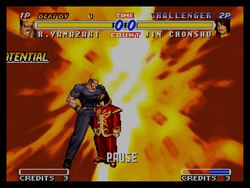
Drill = (360 + C) - Yamazaki's SDM, which has five different levels to it
-Hit Detection: Close
Drill Level 1 = (C) - Yamazaki will juggle the opponent with a series of punches then ends it with a two-hit high kick
-Hit Detection: Close, 0-4 Taps of C
-11 hits
Drill Level 2 = (C) - Yamazaki will juggle the opponent with a series of kicks.
-Hit Detection: Close, 5-8 taps of C
-12 hits
Drill Level 3 = (C) - Yamazaki will grab his floored opponent and delivers a series of headbutts.
-Hit Detection: Close, 9-12 taps of C
-14 hits
Drill Level 4 = (C) - Yamazaki delivers an array of Hebi Tsukais in unbelievable speed
-Hit Detection: Close, 13+ taps of C
-27 hits
-Best used in the corner
-Can be followed up with Todome (Pursuit)
Drill Level 5 = (C, A + B + C) - The final level of the Drill. He throws about 8 Bai Gaeshi's.
-Hit Detection: Close, EXACTLY 13 taps of the button, followed by pressing A + B + C as he's flashing red
-14 Hits
-If you press A + B + C too soon, he will instantly revert back to Drill Level 1 no matter what
-Best to use this anywhere but the corner
-Can be followed up with Todome (Pursuit)
Combos
Chain Combos
Punch Starters
``````````````
P (*)  --------> f + S (1)  -----> d, d + S (G, E)
P close (*)      S (*, E)
                d + S (*, 1, _, E)
                df + S (*, A, E)

f + P (*, O)---> S (*, ^, E)
df + P (*)-----> S (*)      -----> S (E)
P in air (O)---> S (1, H, O, E)
Kick Starters
-------------
K (*)  --------> S (*, ^, E)
K close (*)      d + S (*, 1, _, E)
                df + S (*, A, E)
K in air (O)---> S (1, H, O, E)
Strong Starters
```````````````
None
A, C - Basic chain that can be followed up by most of his special moves. Good damage.
df + A, C, C - Another great chain. can be canceled after the first or second hit. Cancel to a special or feint move for extra hits depending on the distance. Last hit cant be canceled but it can be followed up by his pursuit. Another note, if you are close enough you can do another df + A after the first one without feinting and it will still combo.
A/B, d + C - Both are basically the same. The first hit hits high and the second one low. The second hit can also be canceled by the feint move or a special move. Only reason to do a special after it is for filling up the super bar or after a blocked hit. Feinting can be done if your close enough to do the pursuit.
A, f/D + C - Standing jab into a spinning back kick that sends the opponent flying. The second hit can't be canceled but a follow up is possible after it. The usefulness for this combo can be seen if you find out that the first hit is too far away, you can follow up with a Hebi Tsukai or the second hit of this combo. This one does more damage than a regular Hebi Tsukai and knocks down for a pursuit or another combo if they decide to get up quickly. Unless the opponent is in a corner you can't follow up with the Sabaki no Aikuchi after the first hit if it hits from afar.
f + A, C - Starts off with an overhead and knock the opponent in the backplane. Very useful combo. Does lots of damage and starts of with an overhead. You can even press C before the overhead comes out. Ideal for those situations that the opponent will try to hit you out of your overhead.
B, C - Great combo with lots of range. Very similar to the previous combo. Its basically the same but without the overhead and the first hit comes out faster.
A/B, df + C - Both these combos do the same job. Though one starts with a kick (B) and the other with a punch (A) . This is a combo you'll be using a lot when your life starts flashing red. The second hit launches the opponents for a juggle. Juggle with either Hebi Tsukai (Joudan), dp + B + pursuit, or the super + pursuit. B version you have slightly more time to do the df + C. Good for anti-air. If the first hit (either B or A) whiff from opponents jump, you quckly follow up with the second hit (the launcher, df + C) and still send them flying setting them up for a juggle. Hitting the opponent only with the second hit of this combo while they are in the air gives you the opportunity to juggle with the Hebi Tsukai (Joudan), or dp + B which only works in corner or if the opponent is close to you, or with the super. Follow up the juggle with the super right away as it does great damage and allows you to pursuit afterwards.
Links
df + A, df + A - Only works on a cornered opponent and still misses some opponents like Andy.
A, A, A, A, A, A - Knocks out small characters like the Jins if its done after a jump in C, and followed by a Hebi Tsukai (Chuudan). Difficult combo to execute. You need six jabs in the combo to do the 100% stun combo.
Feint Combos
These combos can be done after jump ins with B, then C, or just C. Though I wouldn't recommend doing them on an opponent unless they are in the corner if you decide to do it after a jump in.
C (1 or 2 hits), f + A + C, :snka:, :snkc:, special (ideally the jedgement dagger for most damage and set ups).
Miscellaneous
Notes
Frame Specifics
-> indicates this is a chain, continuing from previous move on the list.
Far A: 7f, +0 on block, +4 on hit
-> C: -11 on block, -7 on hit
-> f+C: -10 on block
-> d+C: -7 on block
-> d/f+C: -8 on block
Far B: 8f, -4 on block, +0 on hit
-> C: -6 on block
-> d+C: Same as A-d+C
-> d/f+C: Same as A-d/f+C
Far C: 10f, -9 on block, -3 on hit
Close A: 7f, +0 on block, +4 on hit
-> Same strings as Far A
Close B: 8f, -4 on block, +0 on hit
-> Same strings as Far B
Close C: 7f, -7 on block, -1 on hit
Crouching A: 6f, +0 on block, +4 on hit
Crouching B: 8f, -4 on block, +0 on hit
Crouching C: 10f, -7 on block
Jumping A: 7f
Jumping B: 9f
Jumping C: 11f
Hopping C: 10f
A+B: 10f, -7 on block, -1 on hit
Standing D: 11f, -2 on block, +1 on hit
Crouching D: 16f, +1 on block
Backplane A: 23f, +0 on block, +2 on hit
Backplane B: 22f, -1 on block, +1 on hit
Backplane C: 26f, -3 on block
f+A: 15f on a standing opponent, 23f on a crouching opponent, +1 on block, +7 on hit
-> C: -6 on block
d/f+A: 4f, +0 on block, +6 on hit
-> C: -10 on block, -6 on hit
-> C -> C: -12 on block
Jumping B+C: 5f
Tap C while downed: 23f, -23 on block
qcb+A: 8-10f depending on distance, -15 on block, -9 on hit
-> D: input after holding A for 4f, has 12f recovery
qcb+B: 8-10f depending on distance, -13 on block, -7 on hit
-> D: input after holding B for 4f, has 5f recovery
qcb+C: 13-15f depending on distance, -13 on block, -7 on hit
-> D: input after holding C for 7f, has 12f recovery
qcb+hold A/B/C until he speaks for the third time: 11f, -27 to -19 on block
dp+A: 11f, -11 on block
qcf+C: 9f, -16 on block, -10 on hit
-> Hold C after using on a projectile: 22f total
dp+B: 32f, -8 on block
f,b,d,u+C: 1f
hcf+B: 8f
d,d+C: 10f, only connects on downed opponents
f,hcf+B+C: 14-50f depending on distance, -23 on block
360+C: 1f
f+A+C: 18f
Notes: As you can see, his qcb+B cancel is quicker than any feint in the game - can be as fast as 9f, and there's some leeway where it's still useful. Gives him big frame advantage from anything except light attacks, allows him to pressure after knocking the opponent into the backplane, and creates extra combo possibilities.
Also, his d/f+A is arguably the best normal in the game. It's the fastest at 4f, it has sick frame data (especially when combined with the qcb+B cancel), it's a usable anti-air, AND it has a followup that combos into the knife. Essentially, this move turns a -2 situation into a positive for you, as you will be able to beat or trade with the vast majority of jabs. Even against the quickest jabs, a -1 situation still allows you to do this.
