Difference between revisions of "The King of Fighters XIII/K'"
Krazykone123 (talk | contribs) |
Krazykone123 (talk | contribs) |
||
| Line 253: | Line 253: | ||
[[Image:Iron_Trigger.png]] | [[Image:Iron_Trigger.png]] | ||
'''Eins Trigger = (qcf+P)''' - | '''Eins Trigger = (qcf+P)''' - K' moves his right arm in front of him and forms a circular flame, comes out fast, has good recovery, in the most basic sense it can be used during block strings without the follow-up attack, it can also be used to zone your opponent out when they're trying to jump-in, or just throw a projectile, also good for safely building meter when on the other side of the screen, weak version comes out faster than the strong version of course. | ||
(EX) = qcf+AC - | (EX) = qcf+AC - Does more hits and more damage, also carries these properties over to the follow-up move whether it's Shoot/Shell/ or blackout | ||
- Cancel-able | - Cancel-able | ||
Revision as of 15:29, 8 November 2010
Gameplay Overview
Gameplay Notes
Pros
Cons
Normals
Standing
st. A - A simple punch attack, fast, nice range, good for stopping jump-ins if timed right, doesn't have much combo use but you could probably get away with using it as a quick fake-out by whiff canceling it before they run up on you.
- Chain/Cancel-able, Far and Close
- Hit Detection: High
- Damage: 25
- Combos from: Crouch light normals, and anything else that can chain into light normals
- Combos into: EX/Eins Trigger+Second Shoot/Shell, EX Minutes Spike
st. B - Low kick, actually despite looking like a low kick it's actually aimed high, has good range for a far normal, not too bad start-up, possibly good for pokes and other strategies/tactics to annoy your opponent.
- Hit Detection: High
- Damage: 30
- Combos from: Crouch light normals, and anything else that can chain into light normals.
st. C - A right hook aimed at the opponents face, okay reach, not so bad recovery, for a Far strong normal it seems rather promising, good for that extra boost as soon as you get them into the corner.
- Cancel-able
- Hit Detection: High
- Damage: 80
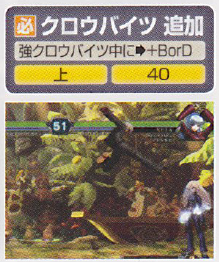
- Combos into: EX/Eins Trigger+Second Shoot/Shell, EX Minutes Spike+Narrow Spike, EX Crow Bites+Plus, Heat Drive, EX/Chain Drive
- Combos from: Jump-ins that yield copious amounts of hit-stun.
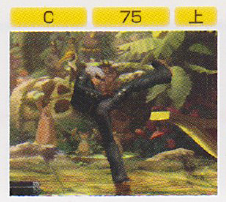
st. D - A high kick, a really high kick, runs the same properties as his Far C except it goes high meaning it can be used as an anti-air when timed correctly, it isn't cancel-able (except in HD mode)
- Hit Detection: High
- Damage: 80
- Combos into: EX/Eins Trigger+Second Shoot/Shell, EX Minutes Spike+Narrow Spike, EX Crow Bites, in HD mode
- Combos from: Jump-ins + Hit-stun
cl. C - A punch aimed at the gut, does two hits, comes out fast, good recovery, the combo starter of choice as it combos into just about everything if not everything, if you got a move you want to do this normal will tie it together with it.
- Cancel-able
- Hit Detection: High
- Damage: 40+30
- Combos into: EX/Eins Trigger+Second Shoot/Shell/Blackout, EX Minutes Spike+Narrow Spike, EX/Crow Bites+Plus, Blackout, Heat Drive, EX/Chain Drive
- Combos from: Jump-ins + Hit-stun
cl. D - Take everything I said about his close C, give it more range, make it a tad bit slower, then make it hit low, besides that eveything else applies here, trying using to catch your opponent off-guard from time to time, K' is good at that kinda stuff.
- Cancel-able
- Hit Detection: Low
- Damage: 70
- Combos from: Jump-ins with hit-stun
- Combos into: EX/Eins Trigger+Second Shoot/Shell/Blackout, EX Minutes Spike+Narrow Spike, EX/Crow Bites+Plus, Blackout, Heat Drive, EX/Chain Drive
Crouching
cr. A - Crouching punch, take his stand A into consideration then use it while he's crouching, useful for chaining together lights into awesome K' combos, good range and recovery as expected, hits high.
- Chain/Cancel-able
- Hit Detection: High
- Damage: 25
- Combos into: Other crouching/standing normals that lead to EX/Eins Trigger+Second Shoot/Shell/Blackout, EX Minutes Spike+Narrow Spike, EX/Crow Bites+Plus, Blackout
cr. B - A (really) low kick, this is your godlike combo starter from crouching normals, this move is good, really good, chains together everything and so much more, you'll have your opponent raging before you know it, great range/recovery, good start-up, and amazing combo oppurtunity.
- Chain/Cancel-able
- Hit Detection: Low
- Damage: 30
- Combos into: Other crouching/standing normals that lead to EX/Eins Trigger+Second Shoot/Shell/Blackout, EX Minutes Spike+Narrow Spike, EX/Crow Bites+Plus, Blackout
cr. C - A uppercut punch, yet another good combo starter from crouch normals, comes out a little slow so it'll require some timing to use an anti-air, good combos ops when used after a jump-in.
- Cancel-able
- Hit Detection: High
- Damage: 70
- Combos from: Jump-ins with hit-stun
- Combos into: Other crouching/standing normals that lead to EX/Eins Trigger+Second Shoot/Shell/Blackout, EX Minutes Spike+Narrow Spike, EX/Crow Bites+Plus, Blackout
cr. D - A sweep kick used to trip your opponents on contact, slow recovery, whiff cancel-able before it hits, doesn't have much combo use unless you stick out just to whiff cancel before hitting them, hits low therefore it much be blocked whilst crouching otherwise they'll get hit.
- Whiff/Cancel-able
- Hit Detection: Low
- Damage: 80
- Combos from: Late jump-ins because it's a pretty slow move
- Combos into: Whiff canceling will allow it to be combo'd into the majority of his EX attacks and anything else that's very fast
Jumping
j. A - A jumping light punch, his other light punch normals except it's in the air now, mediocre range so it be used as an air-to-air, can combo into his Air Minutes Spike if you're lucky.
- Cancel-able
- Hit Detection: Mid
- Damage: 45(40)
- Combos into: EX/Minutes Spike (Air Variant)
j. B - A jumping knee attack, comes out fast but still the range isn't much better than his jump A, you may find some use for some day otherwise stick to one of his better jump normals.
- Hit Detection: Mid
- Damage: 45(40)
j. C - Jumping strong punch, has more range and priority than the two normals mentioned before-hand, this move should get the job done if you forgot to do his jump D instead, works very well with pressure when your opponent is in the corner, it's a meaty jump-in and it crosses-up too, also good for short hop block strings.
- Cancel-able
- Hit Detection: Mid
- Damage: 72(70)
- Combos into: EX/Minutes Spike (Air Variant), stand normals that lead to EX/Eins Trigger+Second Shoot/Shell/Blackout, EX Minutes Spike+Narrow Spike, EX/Crow Bites+Plus, Blackout
j. D - Jumping overhead kick, take all his other jump-ins then pretend they don't exist because this will get the job done, great range, good recovery/start-up, perfect for block strings and corner pressure, but the main thing about this move isn't just that, it does A lot of hit-stun whether they're blocking or not, the hitbox moves in a way that it aims for the opponents hit regardless of where you jump-in at, and when used as a meaty jump-in against an opponent in the corner it's a straight up nightmare, they can only sit there and either take the hit or wait for a chance to GCR out of the way, which is when you can throw out a EX Eins Trigger to catch them before they can run away, the possibilities with this move are endless so keep that in mind.
- Cancel-able
- Hit Detection: Mid
- Damage: 70(68)
- Combos from: It's about fast enough to combo into itself, at least on block
- Combos into: EX/Minutes Spike (Air Variant), stand normals that lead to EX/Eins Trigger+Second Shoot/Shell/Blackout, EX Minutes Spike+Narrow Spike, EX/Crow Bites+Plus, Blackout
Blowback Attack
CD - An angry "piss off" kick to the face, comes out at an alright speed and the range isn't too bad either, use at mid range or stick to whiff canceling it to throw your opponent off their game, whiff canceling allows to be combo'd into just about anything with a fast start-up, can be used after Eins Trigger + Second Shell juggle.
- Whiff/Cancel-able
- Hit Detection: High
- Damage: 75
- Combos from: EX/Eins Trigger + Second Shell
- Combos into: Whiff cancel-able into EX/Eins Trigger+Second Shoot/Shell/Blackout, EX Minutes Spike+Narrow Spike, EX/Crow Bites+Plus, Blackout, Heat Drive, EX/Chain Drive
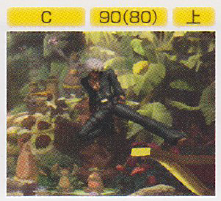
j. CD - K' does a long ranged kick to whatever is below his boot, the jump CD that kills just about everything in it's way, first of all it's a CD attack so it already has good priority, the range is stupid good, it comes out fast, it does a good amount of damage on it's own, it's cancel-able into his Air EX/Minutes Spike, and when used on counter hit it puts the opponent into a juggled state for a follow-up attack, this move does it all.
- Cancel-able
- Hit Detection: High
- Damage: 90(80)
- Combos from: It's about fast enough to combo into itself, at least on block, just like his jump D
- Combos into: EX/Minutes Spike (Air Variant), EX/Eins Trigger+Second Shoot/Shell/Blackout, EX Minutes Spike+Narrow Spike, EX/Crow Bites+Plus, Blackout, and stand normals resets after JCD counter hits.
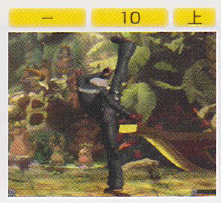
GCCD - His old pre-KOF 2003 CD attack returns as his GCCD now, doesn't do anything special though.
- Hit Detection: High
- Damage: 10
Throw
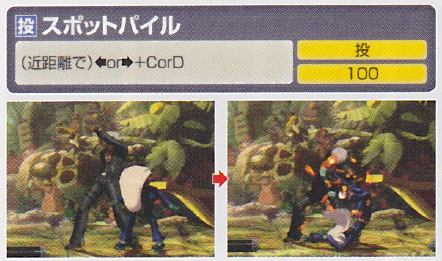
Spot Pile = (b/f+C/D) - K' grabs his opponent then bends them over with one hand, then he uses his other arm to elbow them to the ground, pretty simple stuff, can possibly be used in tick throw set-ups.
- Can be broken
- Hit Detection: Close
- Damage: 100
Command Moves
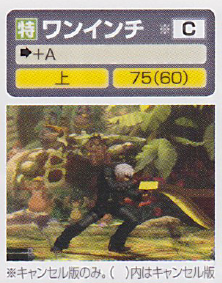
One Inch Punch = (f+A) -
- Cancel-able
- Hit Detection: High
- Damage: 75(60)
- Combos from: Strong normals, EX/Eins Trigger + Second Shell juggle
- Combos into: EX/Eins Trigger+Second Shoot/Shell/Blackout, EX/Minutes Spike+Narrow Spike, EX/Crow Bites+Plus, Blackout, and stand normals resets after JCD counter hits.
Special Moves
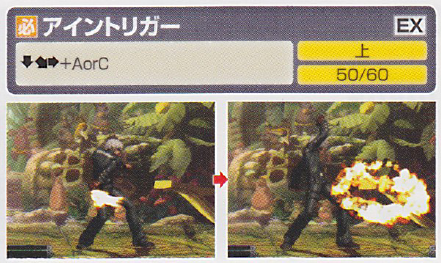
Eins Trigger = (qcf+P) - K' moves his right arm in front of him and forms a circular flame, comes out fast, has good recovery, in the most basic sense it can be used during block strings without the follow-up attack, it can also be used to zone your opponent out when they're trying to jump-in, or just throw a projectile, also good for safely building meter when on the other side of the screen, weak version comes out faster than the strong version of course.
(EX) = qcf+AC - Does more hits and more damage, also carries these properties over to the follow-up move whether it's Shoot/Shell/ or blackout
- Cancel-able
- Hit Detection: High
- Damage: 50/60
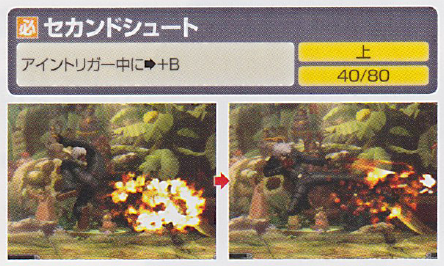
∟ Second Shoot = (f+B) -
- Hit Detection: High
- Damage: 40/80
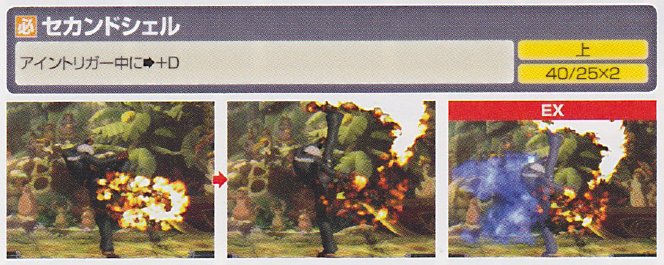
∟ Second Shell = (f+D) -
- Hit Detection: High
- Damage: 40/25x2
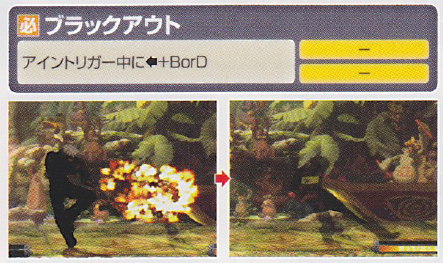
∟ Blackout = (b+K) -
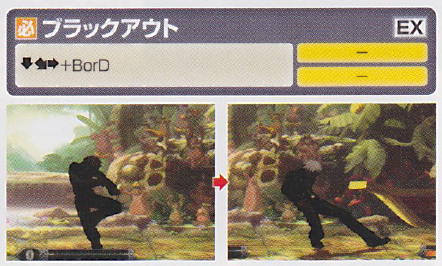
Blackout = (qcf+K) -
(EX) = qcf+BD -
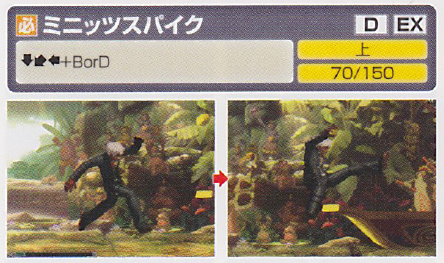
Minute Spike = (qcb+K) also in air -
(EX) = qcb+BD also in air -
- Drive Cancel-able
- Hit Detection: High
- Damage: 70/150
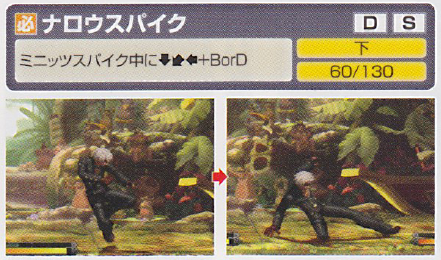
∟ Narrow Spike = (qcb+K) ground only -
- Drive/Super Cancel-able
- Hit Detection: Low
- Damage: 60/130
Crow Bites = (dp+P) -
(EX) = dp+AC -
- Drive/Super Cancel-able
- Hit Detection: High
- Damage: 60+40/50+40+30/20x8+40x2+80
∟ Crow Bites Plus = (f+K) (C version only) -
- Hit Detection: High
- Damage: 40
Desperation Moves
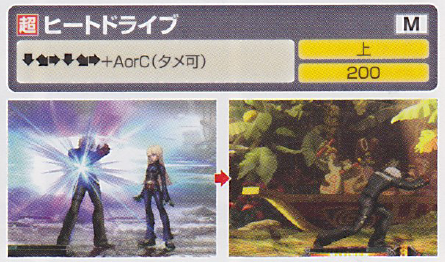
Heat Drive = (qcfx2+P) -
- Max Cancel-able
- Hit Detection: High
- Damage: 200
Chain Drive = qcf hcb+P -
(EX) = qcf hcb+AC -
- Max Cancel-able
- Hit Detection: High
- Damage: 25+0+10x3+15x6+70/25+0+10x3+12x6+10x3+12x7+40+80
Neomax
Hyper Chain Drive = hcbx2+AC -
- Hit Detection: High
- Damage: 20x3+(20+0)x21
Combos
Miscellaneous
Character Sprite
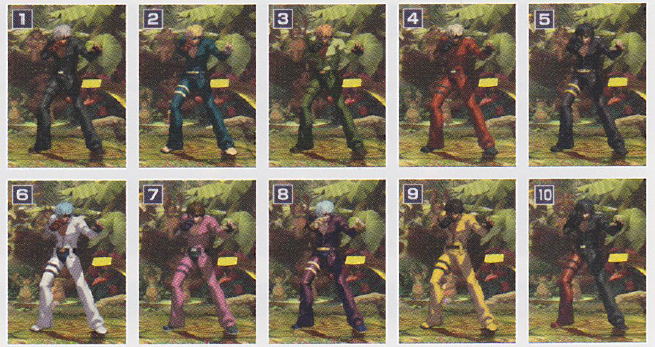
Colors
Alternate Colors
Other
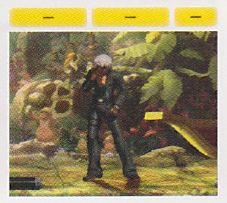
Taunt
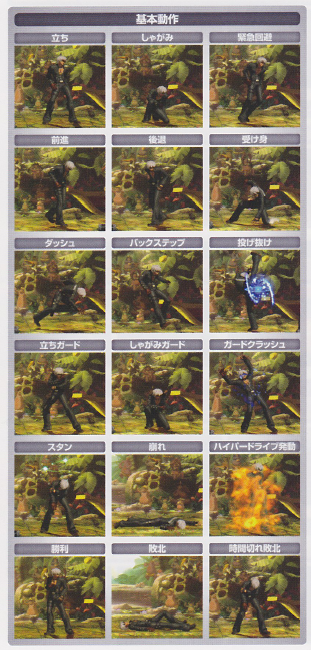
First Row: Standing/Crouching/Evasive Roll
Second Row: Walking (forward/Walking (Backward)/Safe Roll
Third Row: Running/Back Step/Throw Break
Fourth Row: Standing Guard/Crouching Guard/Guard Crush
Fifth Row: Dizzy/Downed/Hyper Drive Activation
Last Row: Win Pose/Knock Out/Time Up Pose
Links & References
Technical Reference


