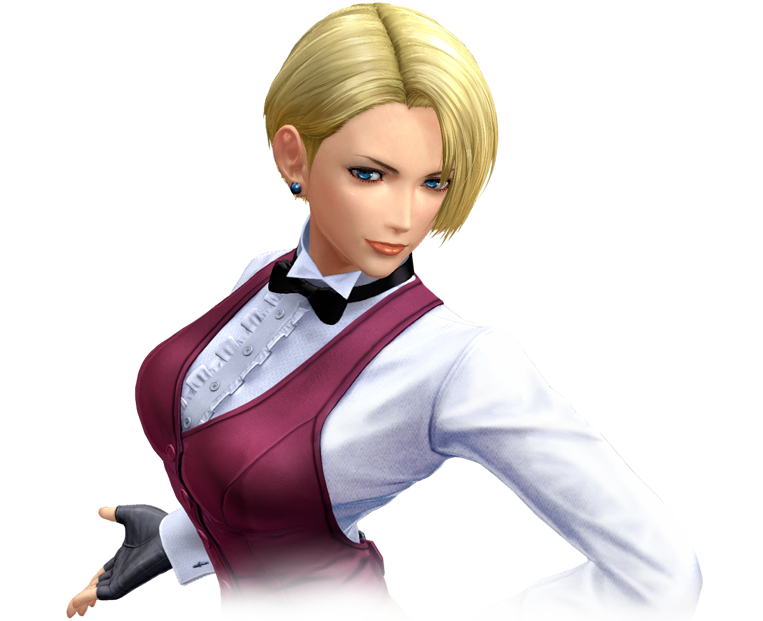
The King of Fighters XIV/King
Movelist
(*) = EX OK
(!) = MAX OK
Throws
Command Normals
Special Moves
Super Special Moves
Climax Super Special Moves
Quick Combo Reference
| 0 Meter |
Anywhere |
(Combo 1) = (damage number here) dmg |
| 1 Meter |
Corner |
(Combo 1) = (damage number here) dmg |
| 2 Meters | Anywhere | (Combo 1) = (damage number here) dmg |
Gameplay Overview
King is a well-rounded zoning character with one of the most versatile sets of normals in the game. She has pressure normals, whiff punish normals, and anti-air normals that are all extremely easy to understand and use properly by any style of player. King sets the pace of the match either by lobbing a B Venom Strike projectile at the opponent to force some sort of movement, or moving into medium range to make use of her great anti-low-jump options like her st.C, st.D, and even her st.A. She has great air-to-air as well, including her j.A, j.D, and j.CD normals. She does consistent damage anywhere on screen and is pretty good at building bar safely. Her only significant limitation is the lack of a meterless "DP"-style move with which to fend off air attacks -- despite having a DP motion and an upward kicking animation, her Trap Shot special is meant to stop low attacks, not jump-ins.
King is one of the best platforms for new KOF players to learn the fundamentals of the game, since she has normals that perfectly complement strong footsie fundamentals. She is an excellent pick for beginners and KOF veterans alike. You can make King work anywhere in your team order, though she is highly reccommended for the 1st and 2nd slots to build meter, since she requires so little of it to be effective.
Normals
Standing
- st. A: Quick speed, good horizontal range, good for stopping incoming hops & to use as a close range poke. Hits some crouching opponents. Not cancel-able.
- st. B: A thrust kick aimed at the opponent's shins. Doesn't hit low. Has autoguard during the start. Not cancel-able.
- st. C: A fast, fierce punch that can stop incoming hops similar to st. A, but has more recovery. Whiffs on crouching opponents. Not cancel-able.
- st. D: This inverted roundhouse kick can stop incoming jumping attacks and hops. It can also hit crouching opponents. Not cancel-able.
Close
- cl. A: This cancel-able elbow hook can chain into King's other light close and standing normals.
- cl. B: Hits low, cancel-able but doesn't chain into other light normals.
- cl. C: A close cancel-able uppercut that is good for starting combos. Also good to use incase an opponent wants to jump directly over you.
- cl. D: A two-hit cancel-able kick that is good to use during combos. Inflicts more damage than close C.
Crouching
- cr. A
- cr. B
- cr. C
- cr. D
Jumping
- j. A
- j. B
- j. C
- j. D
Blowback
- st. CD
- j. CD
Throws
- (Throw description)
- (Throw description)
Command Moves
Special Moves
Notation Key (*) = EX OK
(!) = MAX OK
Super Special Moves
Climax Super Special Moves
Combos
0 meter
- (place combo here) = (place damage amount here)
(place combo description here)
1 meter
- (place combo here) = (place damage amount here)
(place combo description here)
2 meters
- (place combo here) = (place damage amount here)
(place combo description here)
3 meters
- (place combo here) = (place damage amount here)
(place combo description here)
4 meters
- (place combo here) = (place damage amount here)
(place combo description here)
5 meters
- (place combo here) = (place damage amount here)
(place combo description here)
